Manage Subgroups
Subgroups let you further categorize the members of a group.
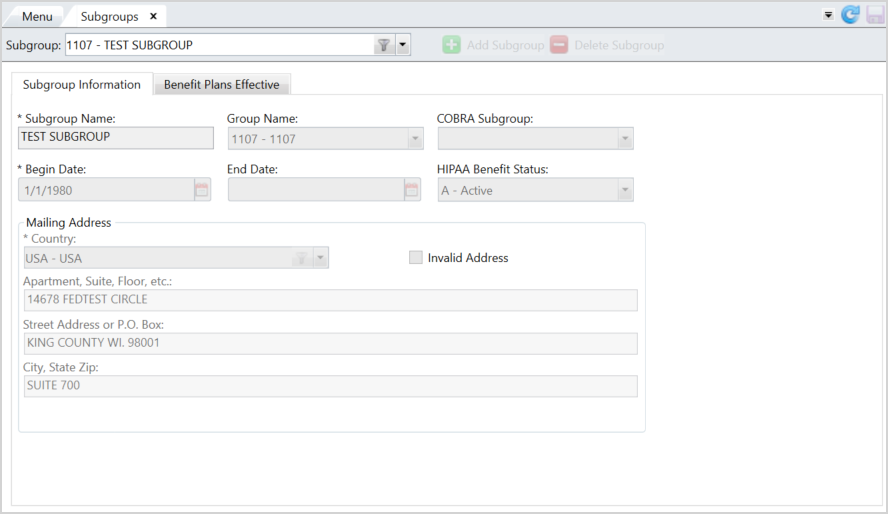
Go to: Home > Codes and Criteria > Fund Relationships > Subgroups
| Field | Description |
|---|---|
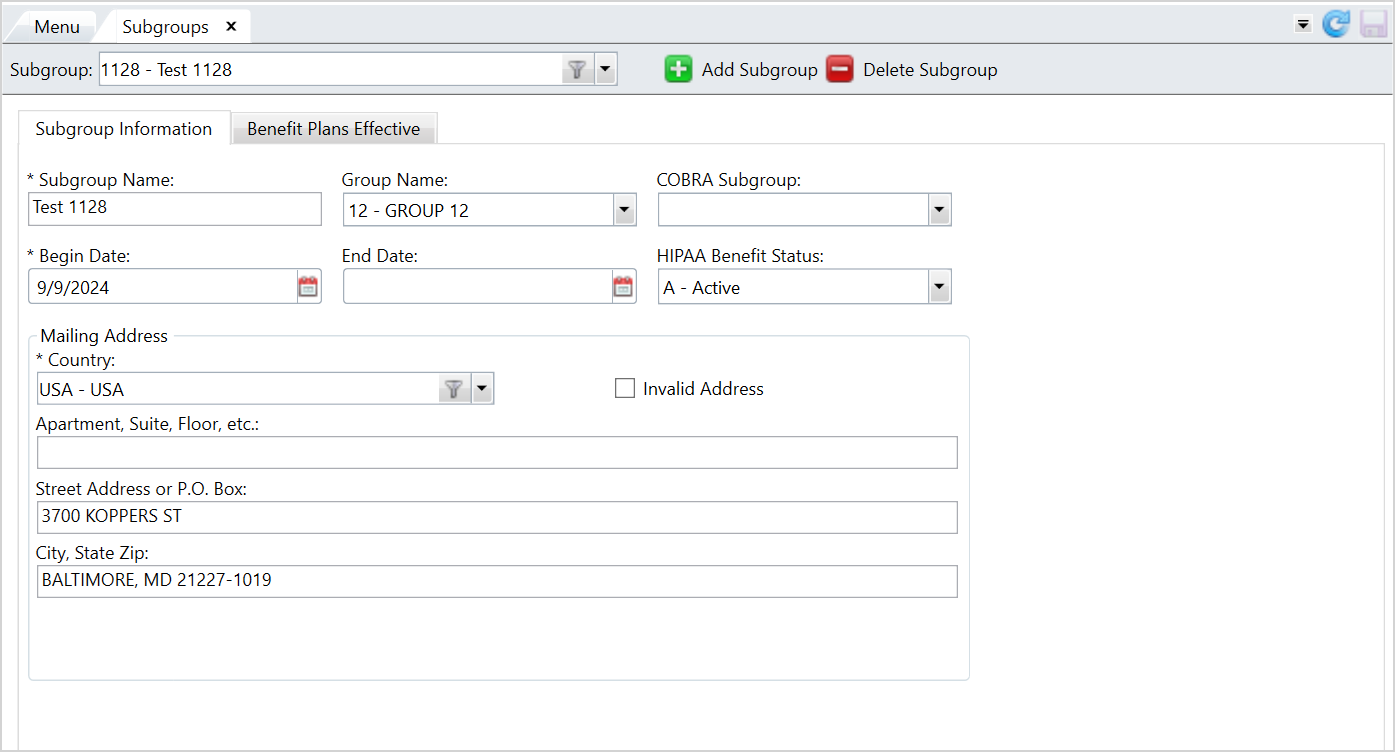
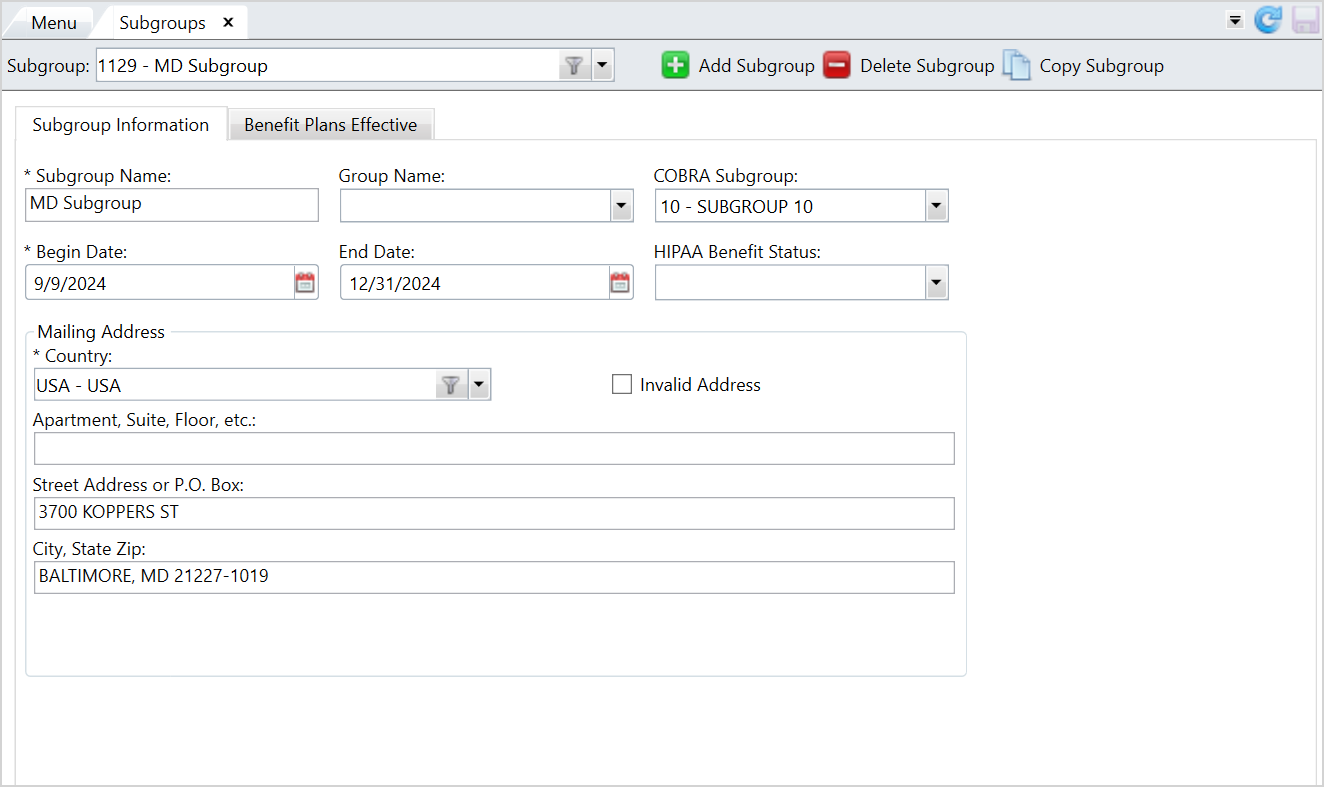
| Subgroup Information tab | |
| *Subgroup Code | The name of the subgroup. |
| *Subgroup Name | The subgroup's name. |
| Group Name | The linked group (see Manage Groups). |
| COBRA Subgroup | An alternate subgroup for processing COBRA. |
| *Begin Date | The start date for the subgroup. |
| End Date | The end date for the subgroup. |
| HIPAA Benefit Status |
Associates your subgroup code with a predefined HIPAA status code for HIPAA transmissions:
|
| Mailing Address |
The address where the mail is delivered. The mailing address also displays on the Contact data tile
|
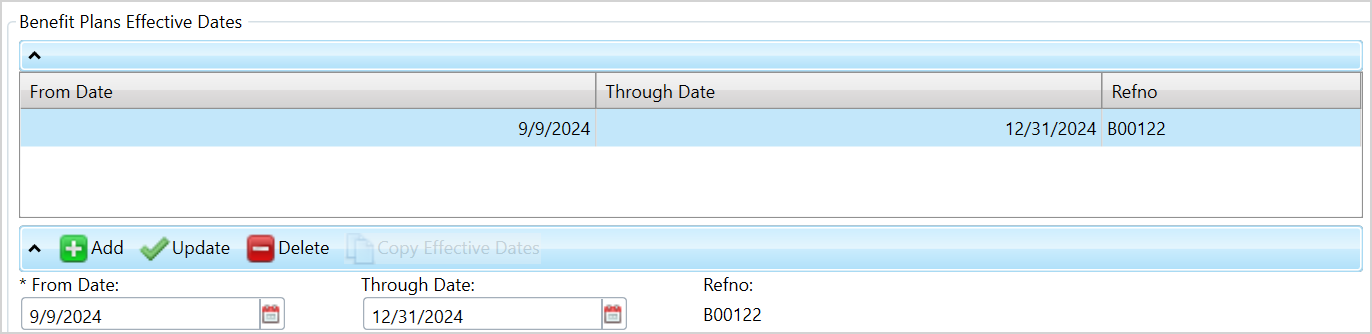
| Benefit Plan Effective tab | |
| From Date | The benefit plan's begin date. |
| Thru Date | The benefit plan's end date. |
| Refno | The refno associated with the from and thru dates. |
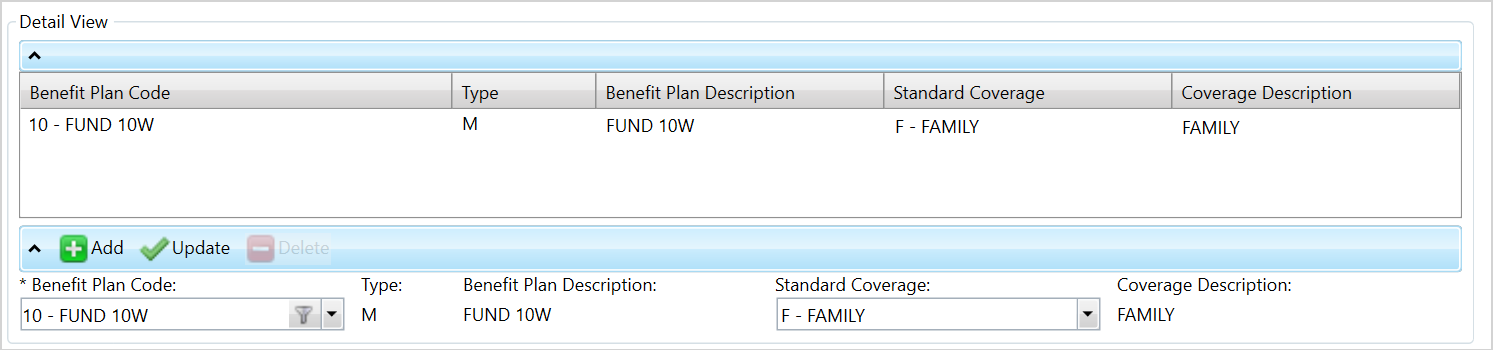
| Benefit Plan Code | The benefit plan code for the eligible subgroup members (see Manage Benefit Plans). |
| Type | The benefit plan type. |
| Benefit Plan Description | The benefit plan type description. |
| Standard Coverage | The standard coverage for the benefit plan. |
| Coverage Description | The description of the standard coverage. |
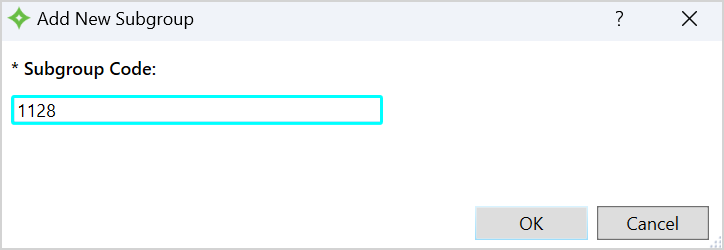
Add a Subgroup
- Click
 .
. - Enter the subgroup code and click
 .
.
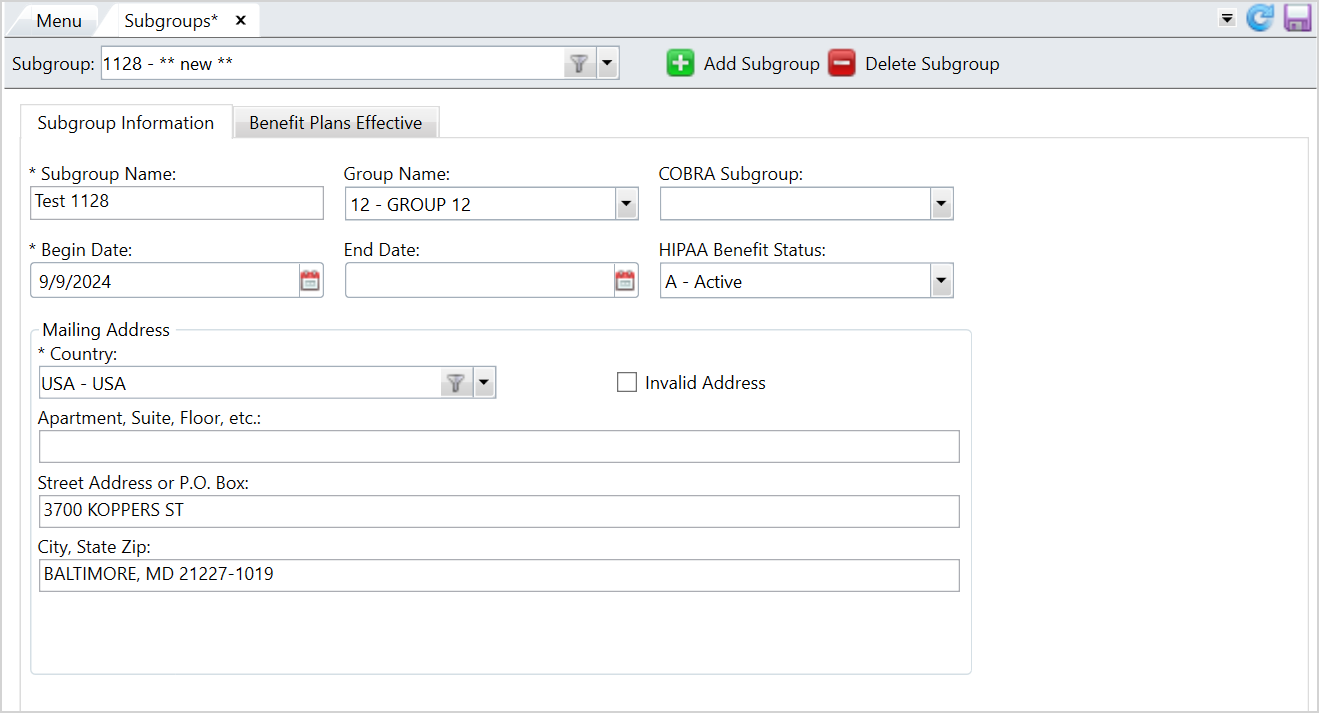
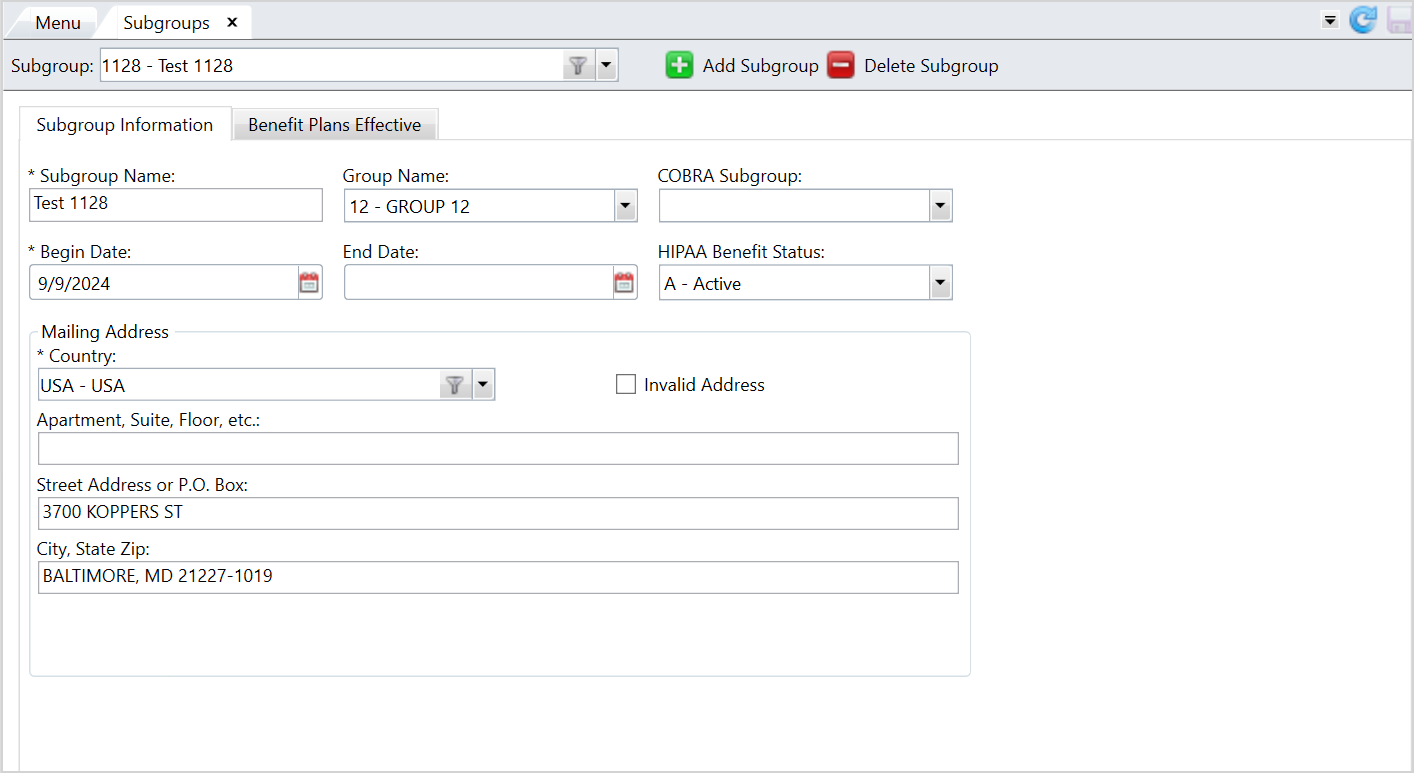
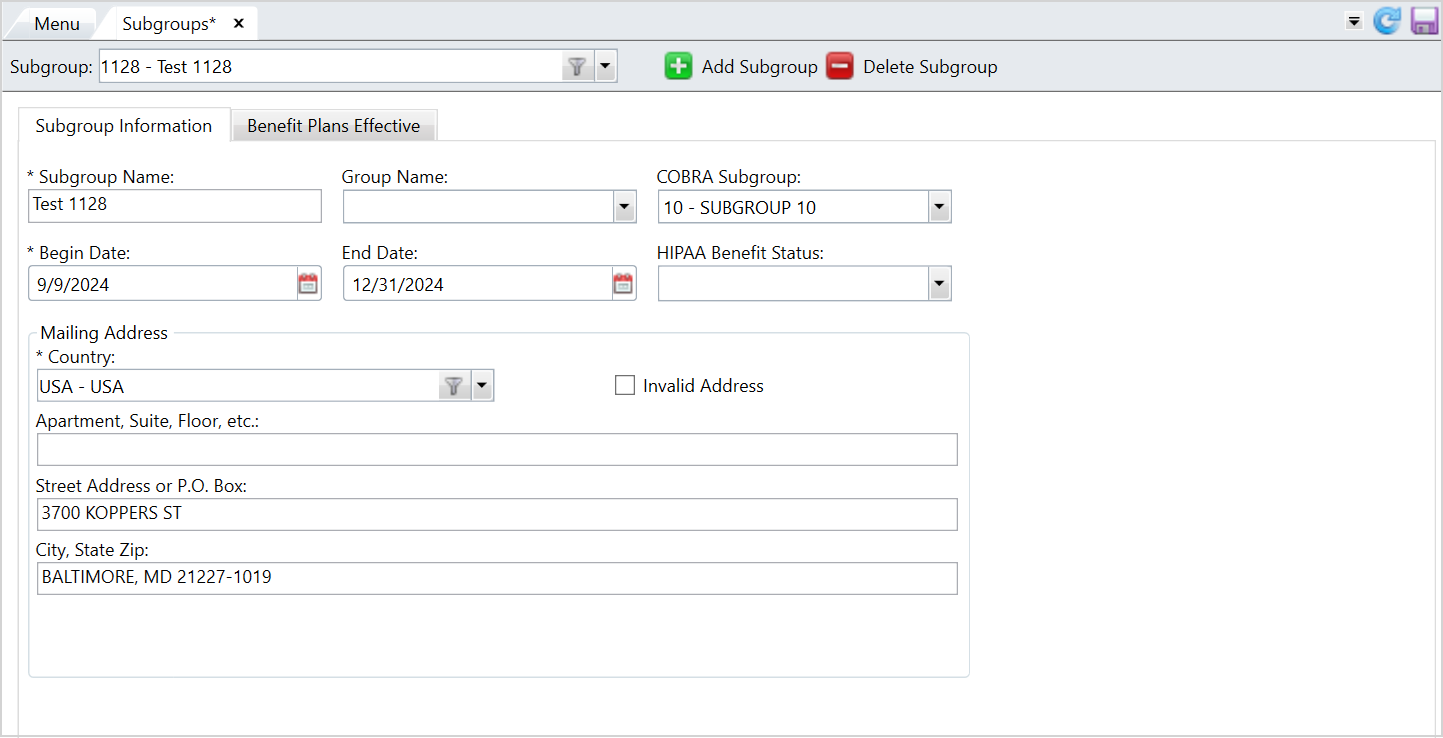
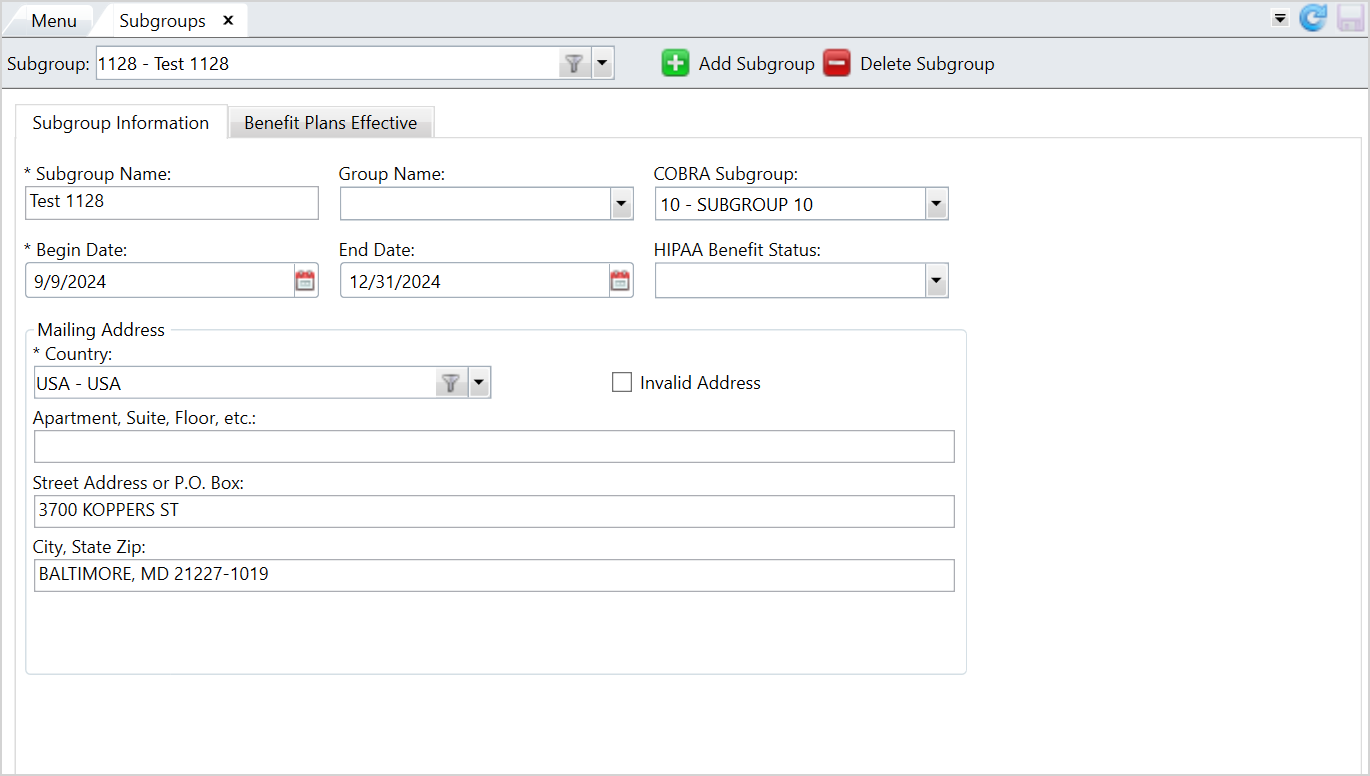
Subgroup Information tab
- Enter a name for the subgroup.
- Select the
Group Name. - Choose a
COBRA Subgroupif applicable. -
Select the
Begin Dateand optionalEnd Date. -
Choose a
HIPAA Benefit Statusto link to the subgroup. -
In the
Mailing Addresssection, complete the address fields. TheCountry Codedisplays automatically based on a SAC setting, but you can change it if needed. -
Select the
Invalid Addresscheck box to mark the address as invalid. -
In the
Valid Change from Subgroupstable, enter the subgroups from which a member can transfer.- Click
 .
. -
Enter or search for the subgroup. The description of the subgroup displays automatically.
-
Add as many subgroups as you need.
-
To delete a subgroup you added, select the row and click
 .
.
- Click
-
Click
 to save.
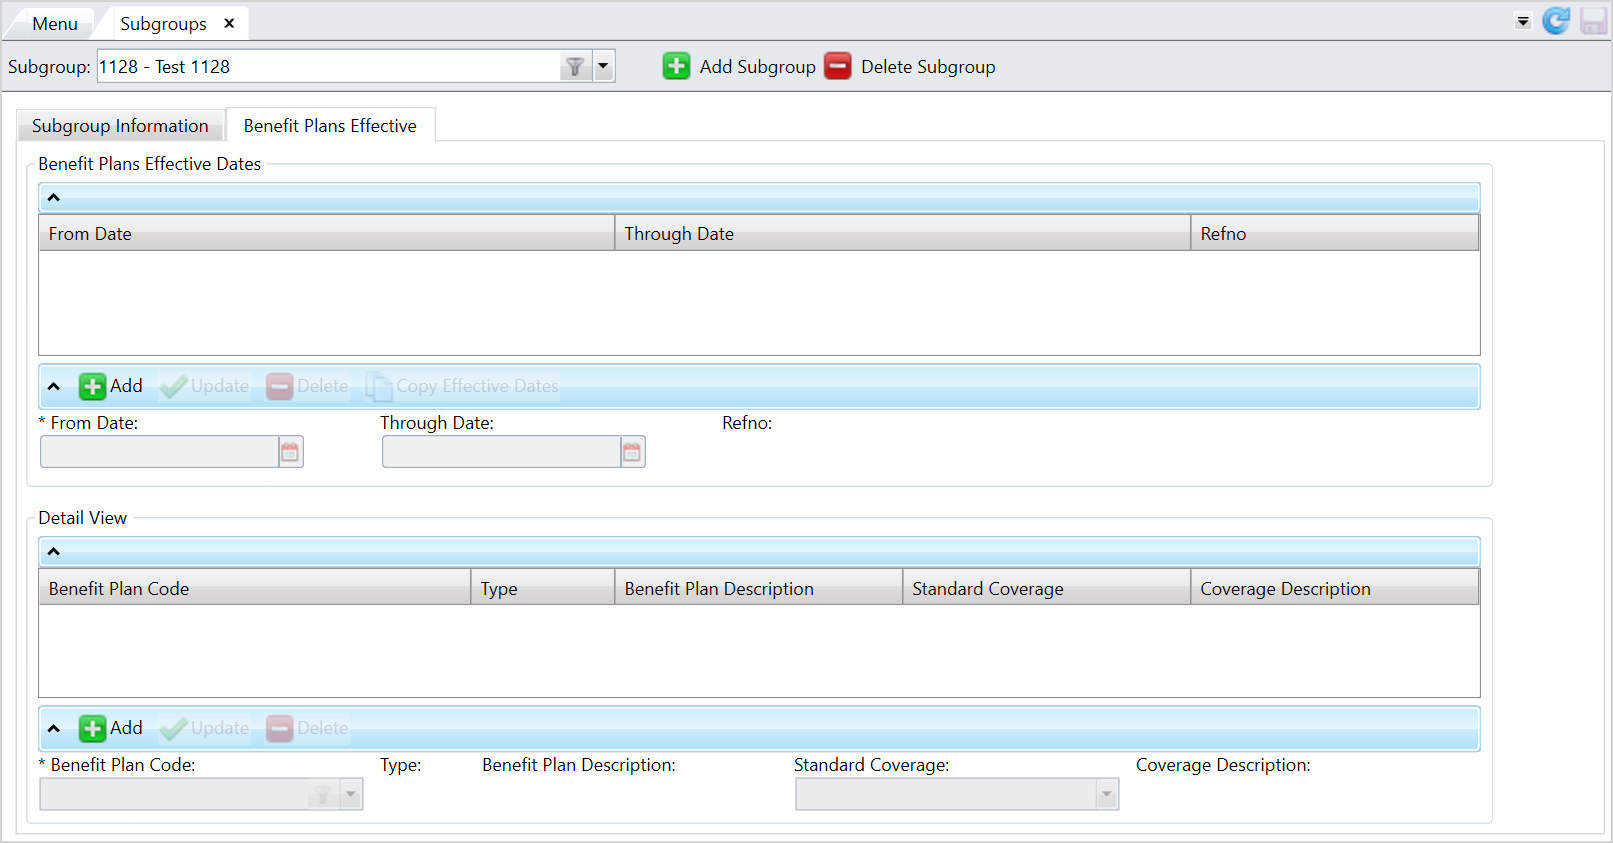
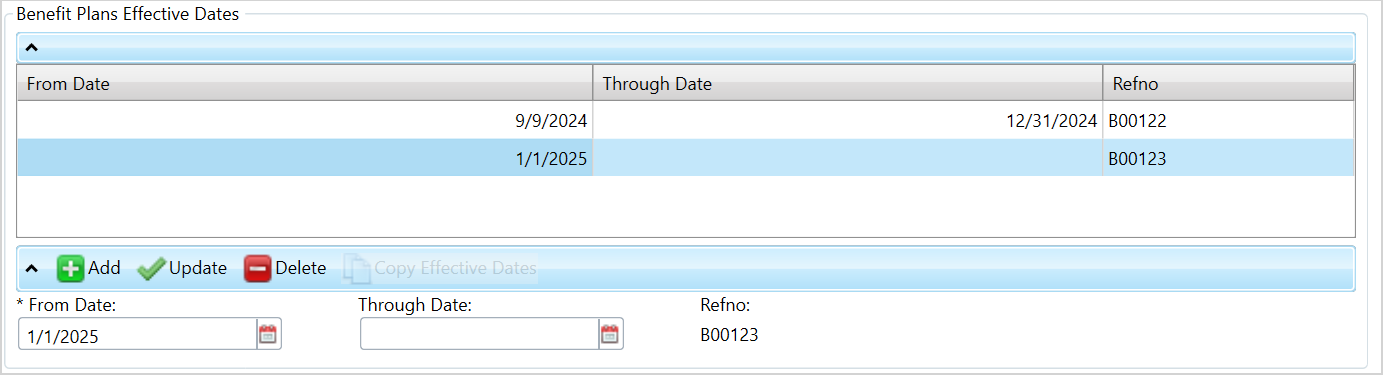
Benefit Plan Effective tab
- Select the
Benefit Plan Effectivetab to add benefit plan information for the subgroup. - In the
Benefit Plan Effective Datestable, enter the benefit plan's effective dates.- Click
 and select the
 From DateandThru Date. TheFrom Datedefaults to the subgroup'sBegin Date. Note that the plan effective dates must be within the subgroup's effective dates. - Click
 to update the table. A refno is automatically assigned to the from and thru dates.
 - Add as many effective date ranges as needed. These dates can't overlap.
If you need to delete an effective date range you added, select the row and click
 .
.Click
to save.
- Click
- To copy a range of effective dates, select the row and click
 . The copied row of effective dates displays in the table. Copying the effective also copies the benefit plan information in the
 Detail Viewtable. -
Edit the
FromandThru Dates. Note that these dates can't overlap. -
After verifying the information, click
to update the table and to save. -
In the
Detail Viewtable, add the benefit plan information.-
Click
. -
Enter the
Benefit Plan Code. The benefit plan'sTypeandBenefit Plan Descriptiondisplays automatically. -
Choose the
Standard Coverage. TheCoverage Descriptiondisplays. -
Before linking a coverage code within a subgroup, first link the coverage code to the benefit plan (see Manage Benefit Plans).
-
Click
to update the table. -
Add as many benefit plan codes as needed.
-
If you need to delete a benefit plan code you added, select the row and click
. -
Click
to save.
-
Edit a Subgroup
- Select the subgroup to edit from the
Subgroupdropdown list. - Edit the information on the
Subgroup InformationorBenefit Plan Effectivetabs. - Click to save.
Copy a Subgroup
- Select the subgroup to copy from the
Subgroupdropdown list. - Click
 .
. - Enter a new
Subgroup CodeandNameand click. - The copied subgroups displays with the same information as the original subgroup.
- Edit the details of the copied subgroup as necessary and click to save.
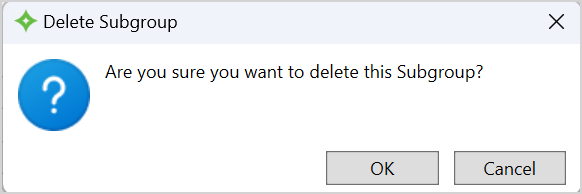
Delete a Subgroup
- Select the subgroup to delete from the
Subgroupdropdown list. - Click
 .
. - At the message, click to delete the subgroup or
 to return to the
 Subgroupsscreen. - If you selected , the subgroup is deleted from the list.