Manage Member Bank Information
In Bank Information, add, update, and delete bank accounts for members. Use the Bank Information screen to track the bank account members use for ACH![]() An electronic funds-transfer system run by the National Automated Clearing House Association (NACHA). This payment system deals with payroll, direct deposit, tax refunds, consumer bills, tax payments and many more payment services. payments to maintain their eligibility through COBRA, Direct Pay, Self Pay, or for retirees' Pension Disbursements.
An electronic funds-transfer system run by the National Automated Clearing House Association (NACHA). This payment system deals with payroll, direct deposit, tax refunds, consumer bills, tax payments and many more payment services. payments to maintain their eligibility through COBRA, Direct Pay, Self Pay, or for retirees' Pension Disbursements.
When you add or update bank information for a member, you have the option to create a pre-note transaction. A pre-note has a 0.00 transaction amount and a pre-note transaction code so you can confirm the bank details are correct before creating an EFT![]() Electronic funds transfer-money that is transferred electronically. transaction.
Electronic funds transfer-money that is transferred electronically. transaction.
Generally, EFT bank information doesn't change often so you might only need to do this once for a member.
Member bank information is maintained and updated in a couple ways:
- By an internal operator using this function (
Bank Information). - By the member online using MemberXG.
Bank Information screen. Contact your administrator to gain access.Access Bank Information
- Search for and open a member record.
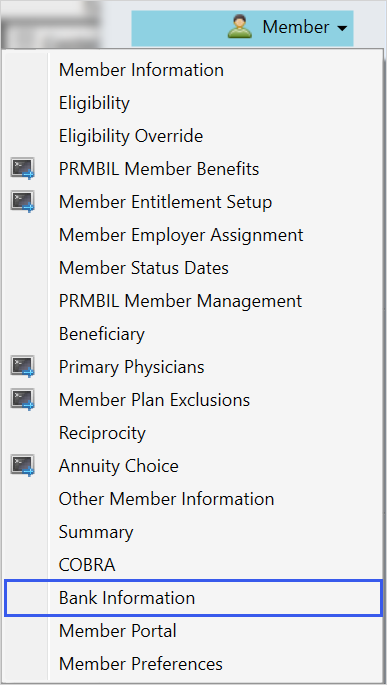
- Select
Memberand clickBank Information. - From
Bank Information, you can manage bank accounts for members and view the disbursements associated with their bank accounts in theAccount Usagetable.
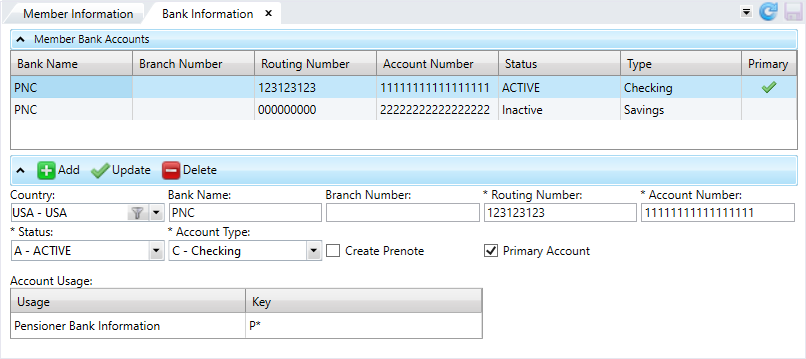
Home > System Administration > Security > Sensitive Data Control. Apply the control to a role in the Profile Editor to mask the data.Add Bank Information
-
Click
 .
. -
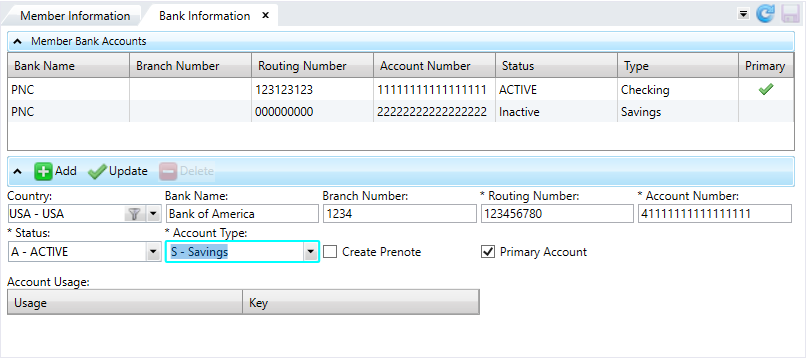
Complete the bank information fields.
- Click
 .
. - Click
 to save.
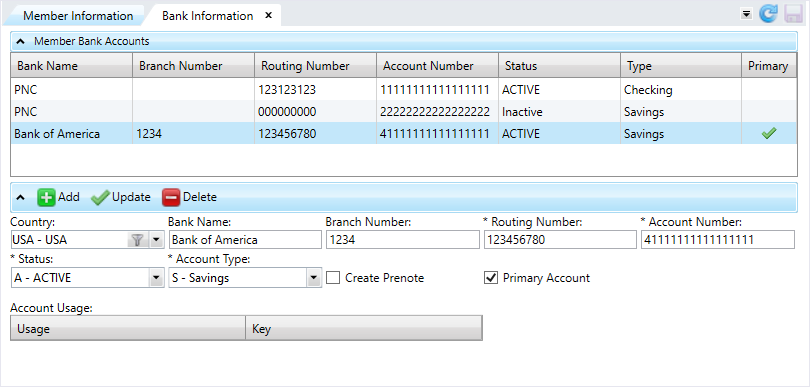
Update Bank Information
- Select the member bank account to update.
- Make any changes and select
 .
. - Click
 to save.
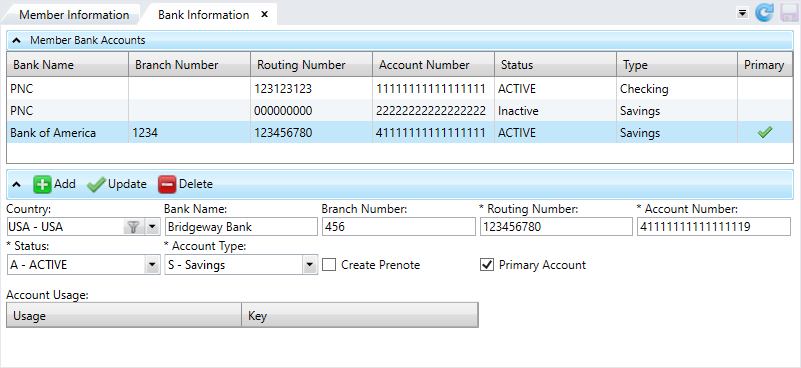
Status, Bank Name, and Primary Account check box.
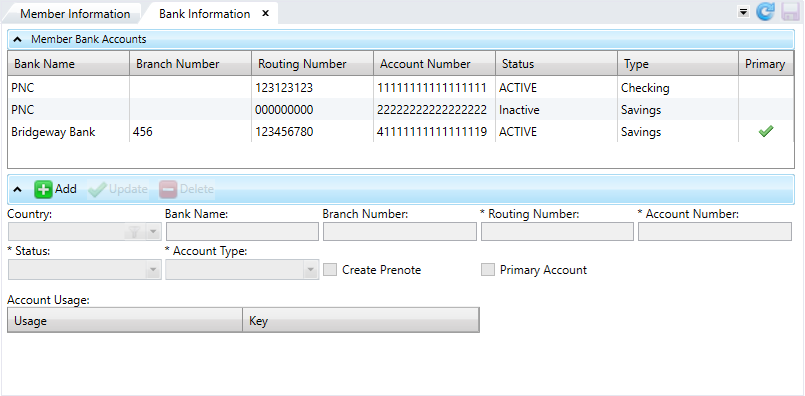
Delete Bank Information
- Select the member bank account to delete.
- Click
 .
. -
You can't delete bank accounts that have already been used to make payments. Instead, you must change the bank account's status to
Inactiveand select .
.- If you're deleting a Primary bank account, you'll receive the message "This account has been set as primary, are you sure you want to delete?".
- Select
 to delete it or
  to return to the
 Bank Informationscreen.
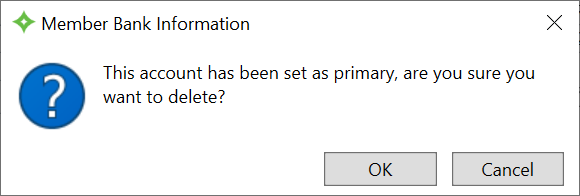
- Click
 to delete the bank account and save.
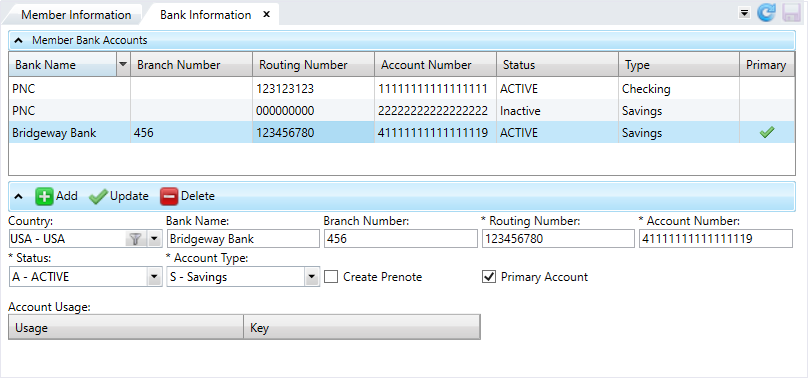
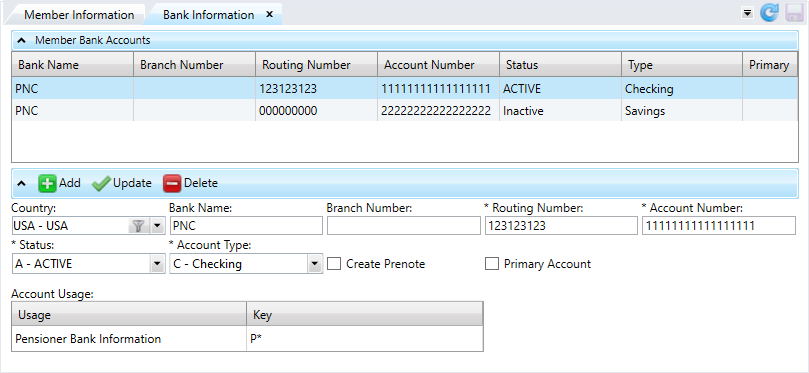
* indicates a required field
| Field | Description |
|---|---|
| Country |
The country of the bank account:
|
|
Bank Name |
An alpha-numeric name that identifies the bank account. The name can have up to 15 characters. |
|
Branch Number |
The branch number of the bank used for EFT |
|
Routing Number* |
A 9-digit number that identifies the bank. The routing number can't start with 4 or 5. The ninth digit is a check digit. The ninth digit number you enter is validated based on the other eight digits. If the ninth digit is incorrect, a message indicates the correct ninth digit so you can correct it. GAP SAC <54>
|
|
Account Number* |
The bank account number used for EFT transactions. |
| Account Type* |
Select either |
|
Status* |
The status of the bank information on file. Select a status code from the list. Status codes are associated with a type: active, inactive, or pre-note.
Note: Depending on your system setup, you might not be allowed to change a |
| Create Pre-Note (check box) |
After you save the bank account information, the check box updates and a pre-note transaction is created if:
You can clear the check box if appropriate. |
| Primary Account (check box) |
A check box to indicate if this is the member's primary bank account. A green check mark displays in the You can't select inactive bank accounts to be the primary account. |
| Account Usage | |
| Usage | Displays the disbursements associated with the selected bank account. |
| Key | The Fund*SeqNumber or refno of an associated disbursement. |
Banking Enclosures
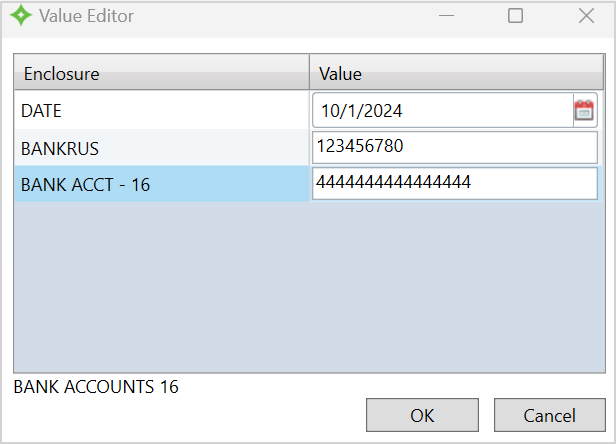
In the member's Correspondence viewer, you can see the enclosures used for member banking.
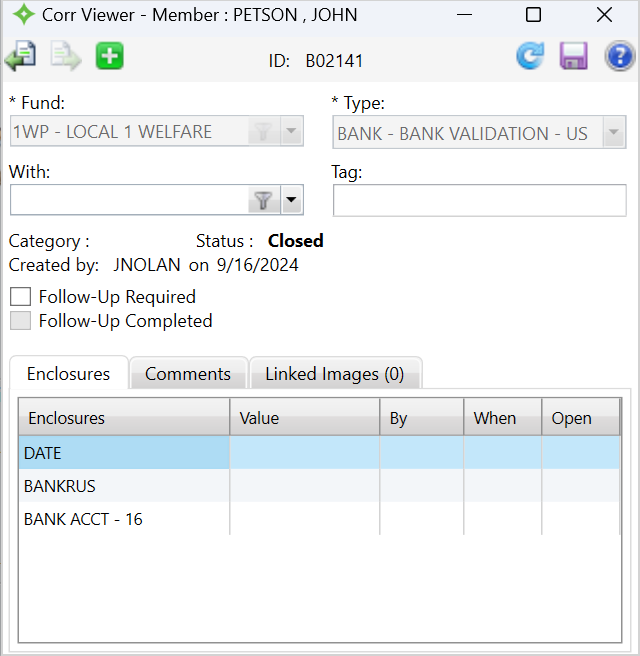
The banking enclosures include:
-
The associated date.
-
US and Canadian routing numbers.
-
US and Canadian account numbers.
Validate the bank account number and routing number. You won't be able to save invalid values.
