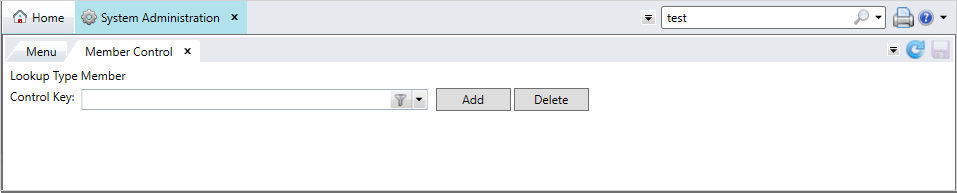
Prevent access to certain members’ data by creating a restricted or blacklisted member group. Any access to the members’ dependents will be restricted too. No search, session, task mode, or display will be available for members included in the restricted member control group.
For example, you could have a member control containing plan employees whose benefit and health claims details shouldn’t available to the other employees of the plan. In this example, assign the member control to the operator's profile so they can’t access other employee’s plan information.
Go to:

Add a member control
-
Click
 .
. -
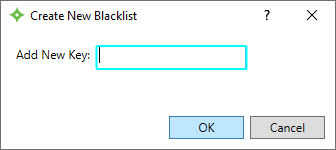
In the
Create New Blacklistwindow, enter a name for the member control. For example, if the control will contain members in Plan 123, you could call it PLAN123. Then, click .
. - Enter a description for the member control.
- To add a member, click
 .
. - Enter the member number or ID to add to the list and press
Enter. You can also click to search for the member. Add as many members that you need.
 - To use the Access Group control, create an Admin (or All) Inclusion List. Make sure you include the No Access Group Option in that list.
- If you need to remove any members from the list, select the member and click
 .
. - When you're finished adding members, click
 to save.
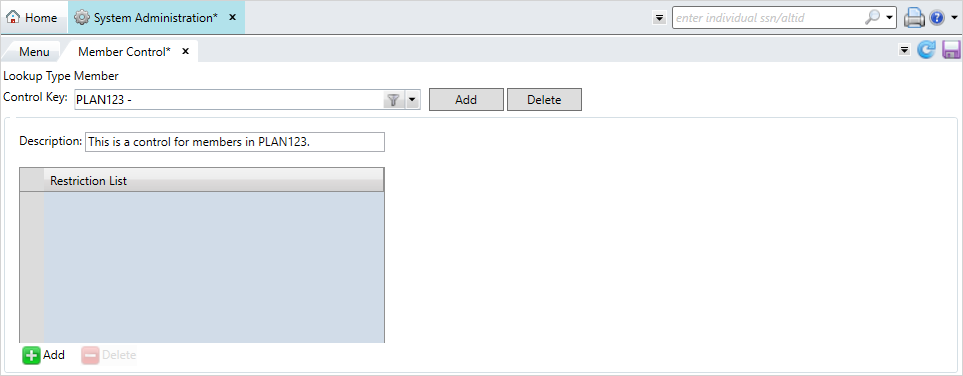
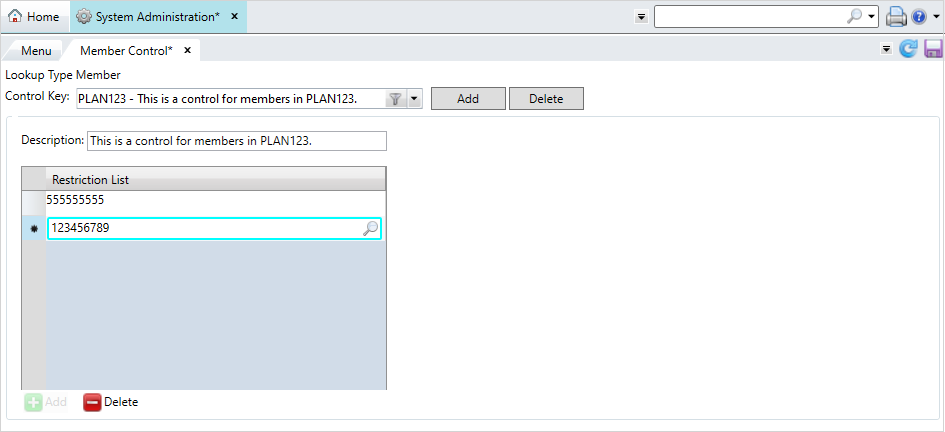
 displays next to members that haven't been saved.
Member Control screen.
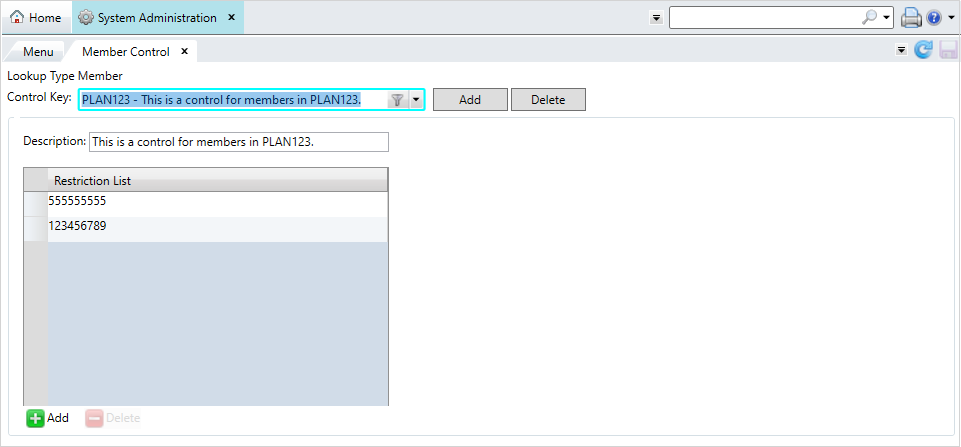
Update a member control
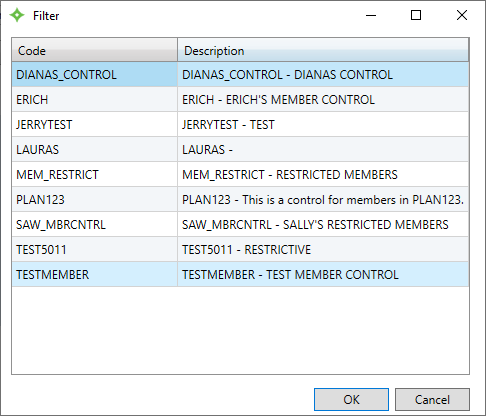
- Select the list from the
Control Keydropdown menu. - Or, select
 to use the filter to locate the member control.
 - Make any changes to the member control.
Click
to add more members.Select a member and click
to remove them from the control.
-
After updating the list, click
to save.
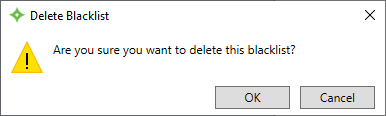
Delete a member control
- Select the list from the
Control Keydropdown menu, or select the filter to locate the member control. - Or, select to use the filter to locate the member control.
- Select
 .
. - At the
Delete Blacklistwindow, select to delete the control, or  to return to the
 Member Controlscreen. - After you select , the control is deleted from
Member Control.