Set up and manage your MemberXG portal after defining it in Environment management. Use the Configuration tab and subtabs to determine what fund choices, pages, and information are available and to who.
Access the Configuration tab and Configurations subtab
Home > System Administration > MemberXG > Configuration
- The
Configurationssubtab displays by default. -
The other subtabs that make up configuration for the
System Englishenvironment areMenu,Fund Mapping,Security,Misc,Member Sign Up, andPayment.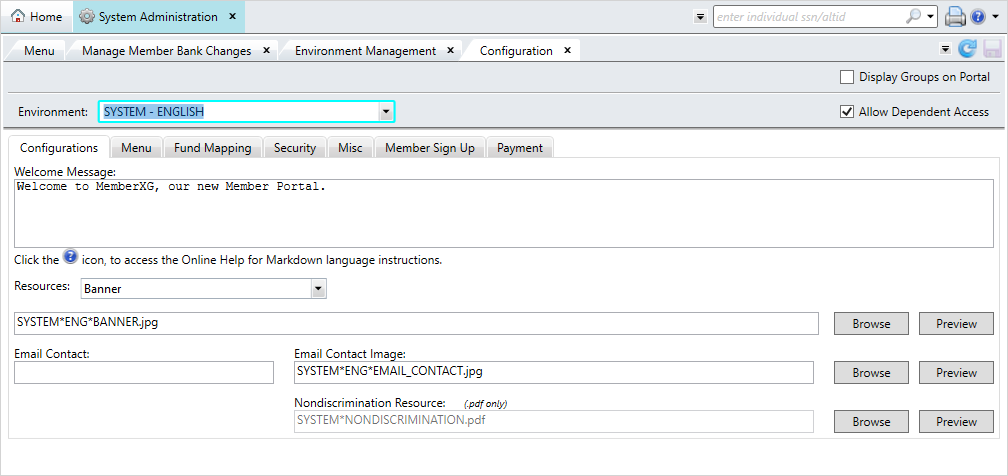
- To view or make changes to a portal, select the portal environment from the
Environmentlist.- If you have multiple groups, you’ll need to configure each portal environment. See Environment management.
- Click or clear the right-side checkboxes:
Display Groups on Portal—Allow members assigned to more than one group to see their assigned group(s).
Allow Dependent Access—Allow members’ dependents to create and access their own accounts.
Configurations
Within this subtab you can:
- Add or edit the Welcome Message that displays on the MemberXG dashboard after the member logs on. See Add or update the welcome message.
- Add or edit the logo or image (Banner) that displays at the top of all portal pages and in the member emails. See Add or update the banner.
- Add or edit the information that displays, when a member clicks the following links in the bottom of any MemberXG page (the footer). See Add or update policies and terms .
- Terms
- Privacy Policy
- Contact Fund Office
- Security Policy
- Non–discrimination statement (see Add or update the non-discrimination resource)
Menu
Use this subtab to view or change the order in which pages display in the selected portal environment, change the name of the page, and choose whether certain pages are available to active members or dependents. SeeConfigure the MemberXG portal.

Fund Mapping
Use this subtab to define the funds members see in the portal. The Fund Mapping tab only displays for the System—English Environment. Any funds added or updated here will be available to any group environments related to the system environment.
You can define aliases—easy to understand names for the funds—to display on the portal pages. If needed, you can also delete the funds. See Rename funds in MemberXG.

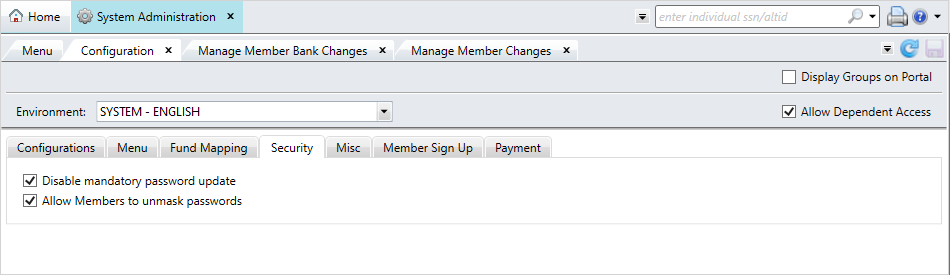
Security
Manage security settings for members related to password security and masking.
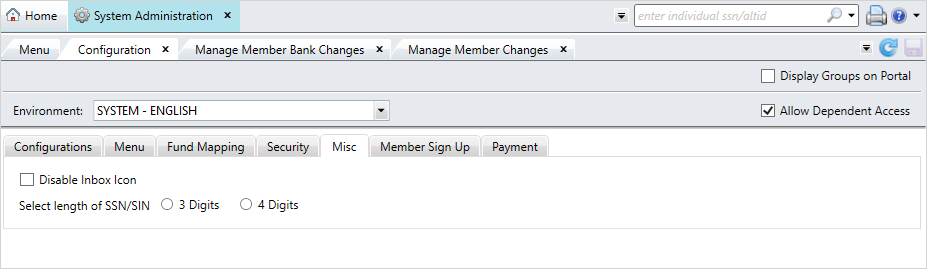
Misc
Use this subtab to manage how the inbox icon and the member's SSN/SIN display in the portal.
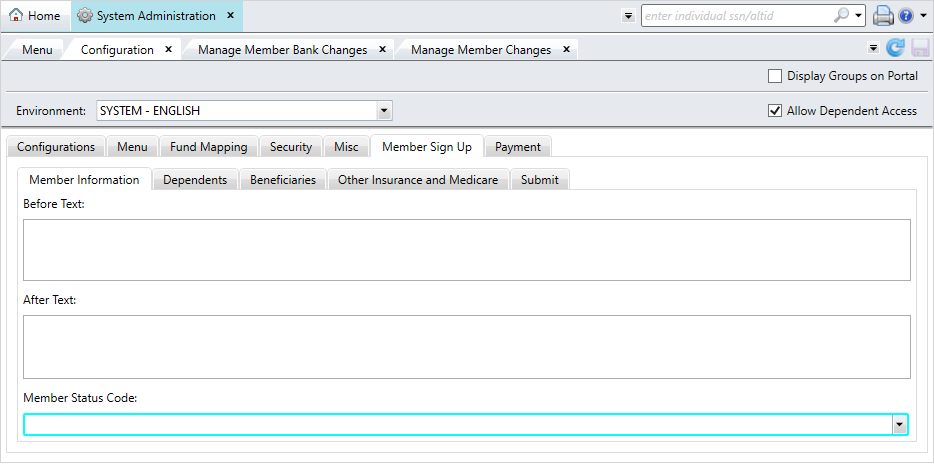
Member Sign Up
Set up the before and after text that displays across multiple sections of the portal, including Member Information, Dependents, Beneficiaries, Other Insurance and Medicare, and Submit.
Payment
On the Payment subtab, select if members can manage their bank information in MemberXG. Set up the text for related emails, indicate the default status for bank accounts, and choose other settings related to the fund office.
From General, choose what payment options are available to members (ACH versus Authorize.NET ePayments) and if they can make recurring payments. You can also set up the terms of use requirements and message for credit card and ACH payments.
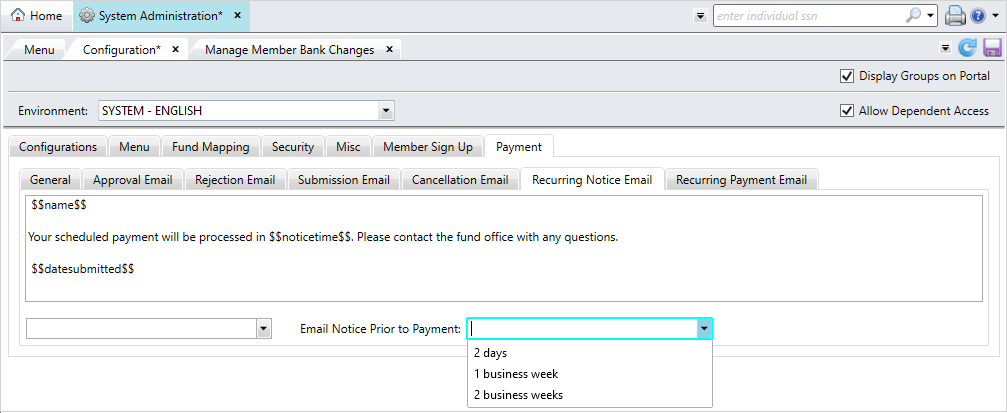
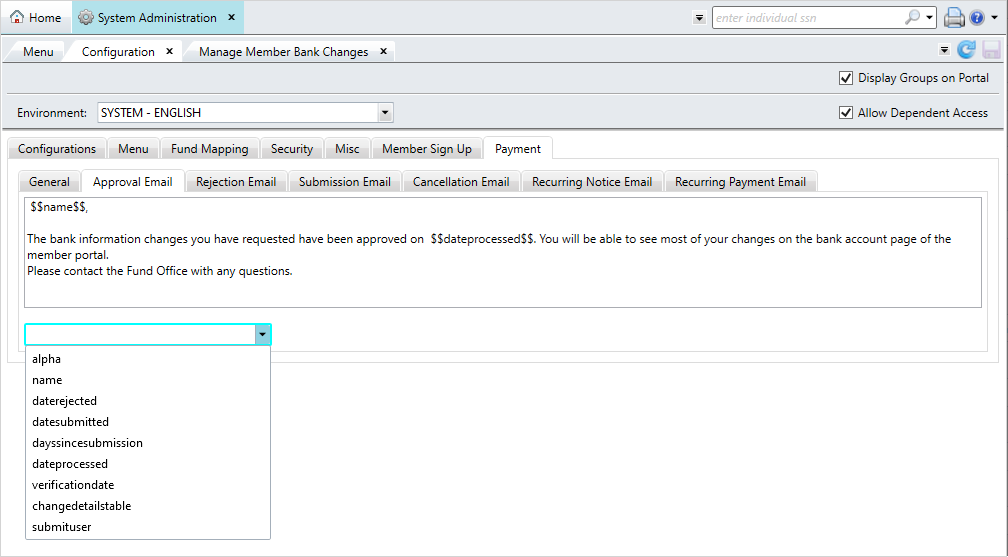
Email subtabs
On the other subtabs, set up the emails members receive when their bank information has been approved, rejected, submitted, if they cancel their update request, or notices for recurring payments.
You can use data tags to populate each automated email with the specific member's name, the date their request was processed, approved, rejected, and more. Select a data tag from the dropdown list. It will display between the $$ symbols in the text box.
For recurring payments, you can set up when a member receives a notice that their recurring payments will be processed. From the Recurring Notice Email subtab, select the Email Notice Prior to Payment dropdown and choose a frequency.